You Are Here ::: Home >> Dreamweaver Templates >> Template Customization Guide >> Custom Swaps
Swap Images Customization
Making changes to your dreamweaver template's swap images
If your smartwebby dreamweaver template includes swap images then follow these steps to customize them.
- In Fireworks, open template.png.
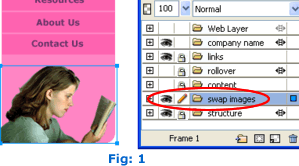
- In Layers panel, unlock the swap image by clicking the lock icon which is shown below in Fig: 1.
-
If your template uses swaps you'll find that the png template is divided
into different frames. Each frame will have a different swap image in the "swap images" layer representing each of the links.
- Unlock all the layers so that you can select the pictures you want to change.
- You can easily replace the pictures with your own pictures. All you need to do is import the picture you want by clicking on File>>Import (or Ctrl+R) and browse to select your picture. Left click to insert the imported picture into your Fireworks file.
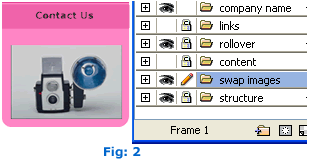
- Edit the picture using the image editing tools like lasso, magic wand, etc. Now resize and position it in the place of the existing picture (Fig: 2).
-
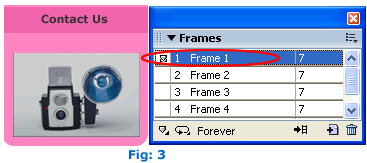
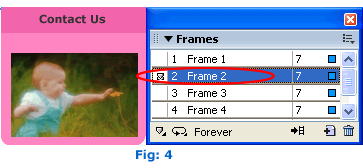
To view all the swaps in the Fireworks template open the Frames panel
by clicking on the Window>>Frames (or Shift+F2). Click on each of the frames to view
different instances of the swaps (Fig: 3 and Fig: 4).
- Repeat the above step for each of the swaps by selecting individual frames.
- Preview the fireworks template by clicking on the Preview tab found on top. All the changes should be seen here.
-
Once all the graphics are modified, the next step is to export all the swaps.
-
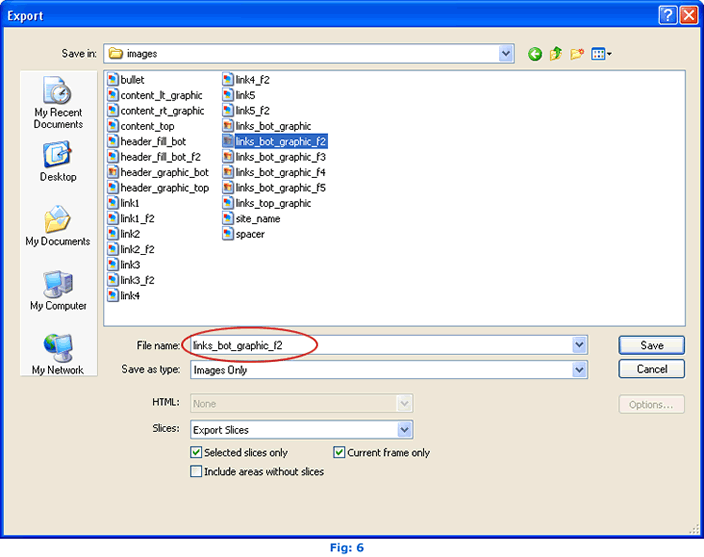
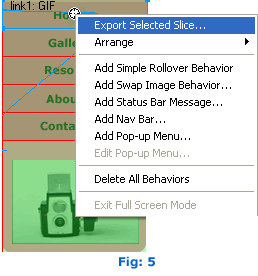
Select Frame 1 and right click on the swap slice and export the slice to the images in the local root folder. Now select the next frame (i.e Frame 2) and export the same slice and change 'links_bot_graphic' to 'links_bot_graphic_f2' as the name of the swap image (Fig: 6). Do the same for Frame 3, 4 and 5. Please Note - The names of the swaps will be as follows:
- links_bot_graphic.jpg - for the swap in the first frame.
- links_bot_graphic_f2.jpg - for the swap in the second frame.
- links_bot_graphic_f3.jpg - for the swap in the third frame.
-
links_bot_graphic_f4.jpg - for the swap in the fourth frame
and so on.
- Once the pictures are exported preview the Dreamweaver template in IE to test if all the swaps are working fine.
SmartWebby.com Dreamweaver Template Customization Guide
- Step 1: Dreamweaver Site Definition - Setting up your template website in Dreamweaver
- Step 2: Custom Colors - Changing your dreamweaver template's design colors
- Step 3: Custom Header - Customizing the website header with your Site Name and Slogan
- Step 4: Custom Links - Modifying your website Links - Text links or Rollover links
- Step 5: Custom Footer - Changing the website's Footer Text
- Step 6: Custom Graphics - Replacing Photos and Images used in your template's design
- Step 7: Custom Content - Inserting Content into Existing Pages and Adding New Pages
- Step 8: Custom Styling Text - Changing your text styling using CSS Styles
- Custom Flyouts - Modifying your dreamweaver template's Drop-down Menus if included
- Custom Scroller - Customizing the News Scroller if included
- Custom Swaps - Customizing the Swap Images if included